PixiJS와 Depth map으로 3D 이미지 만들기
September / 2020
pixijs3d photoWebGLcanvas

PixiJS 라이브러리와 Depth map(깊이 정보 이미지)을 사용해 3D 이미지를 만들어 봅니다.이 포스트에서 사용된 이미지 출처는 각 이미지 하단에 표기했으며,
핵심 코드는 Red Stapler의 Create 3D Photo from Image JavaScript Tutorial을 참고했습니다.
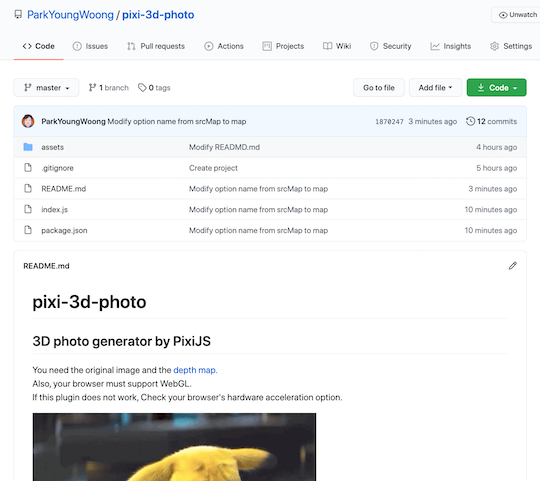
예제를 더 쉽게 적용할 수 있는 NPM 모듈(pixi-3d-photo)을 만들어 배포했으니 사용해 보세요 :D
$ npm i pixi-3d-photo
PixiJS란?
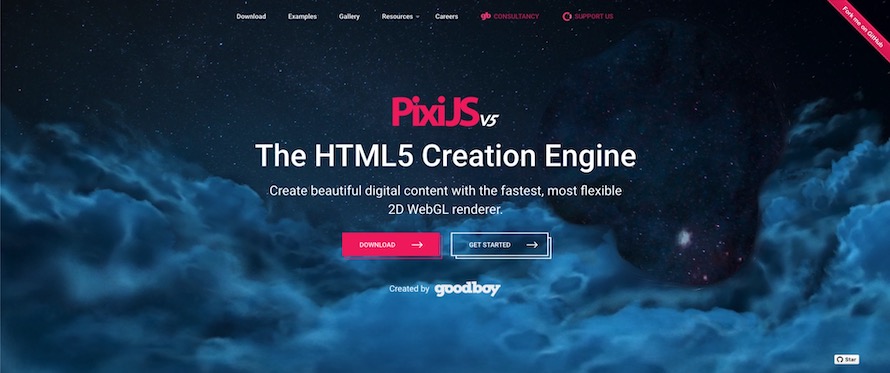
PixiJS는 WebGL을 사용하는 고속 HTML5 2D 렌더링 라이브러리입니다.
Canvas 혹은 WebGL API를 Flash API와 유사하게 사용할 수 있습니다.
WebGL
WebGL은 별도 플러그인 없이도 자바스크립트를 사용해 브라우저에서 그래픽을 렌더링합니다.쉽게 OpenGL의 웹 버전으로, 실제 OpenGL ES 2.0 기반 API를 사용합니다.대부분의 최신 브라우저에서 지원하며, GPU 가속을 사용해 다양한 이미지 처리와 효과를 구현할 수 있습니다.
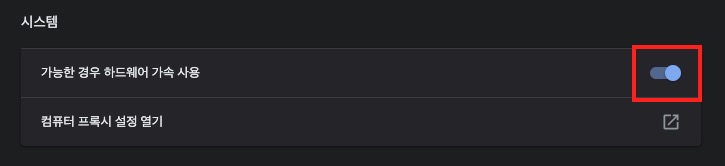
주의할 점은, 브라우저 옵션에서 GPU 가속을 여부를 확인해야 합니다.
크롬의 경우,
‘고급’ 설정에서 해당 옵션(가능한 경우 하드웨어 가속 사용)을 제어할 수 있습니다.
chrome://settings
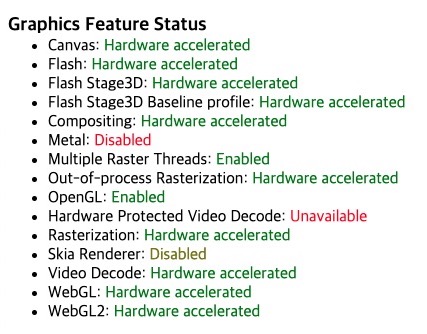
Graphics Feature Status(그래픽 기능 상태)에서 WebGL 항목을 체크할 수 있습니다.
chrome://gpu
Depth map이란?
‘Depth map’은 주어진 시점에서 물체 표현의 거리에 대한 정보를 가진 이미지를 말합니다.
일반적으로 회색 톤(Gray scale)으로 표현하며, 색이 밝을수록 더 가까운 거리를, 어두울수록 더 먼 거리를 의미합니다.
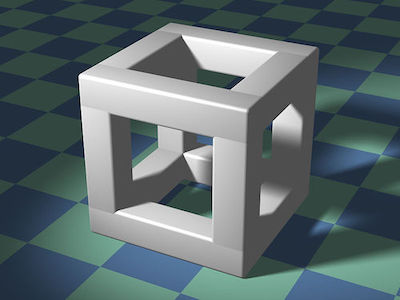
Image credit: https://en.wikipedia.org/wiki/Depth_map
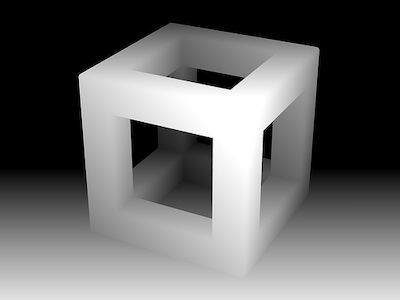
Image credit: https://www.pvsm.ru/programmirovanie/309027
예제
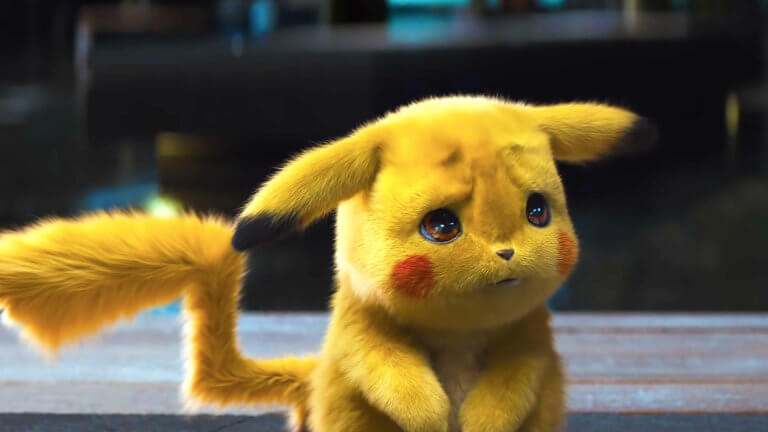
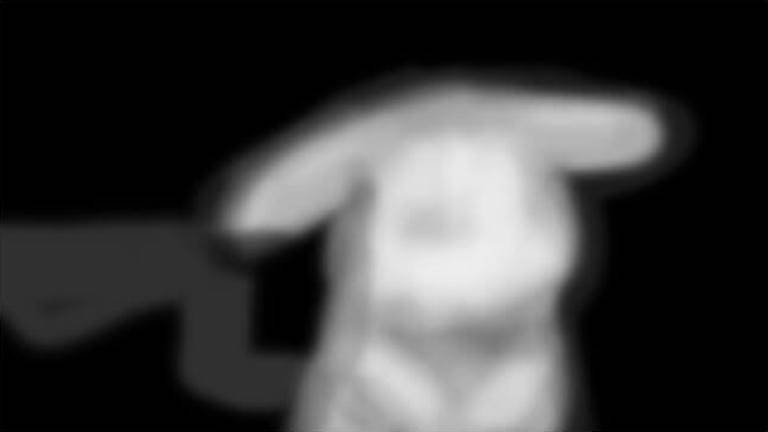
PixiJS를 사용해서 3D 피카츄 이미지를 만들어 봅시다.필요한 준비물은 피카츄 원본 이미지와 Depth map(이미지)입니다.
두 이미지의 크기 및 깊이 정보가 일치해야 제대로 동작할 수 있습니다.
코드는 다음과 같습니다.
your_project
├── pikachu.jpg
├── pikachu.map.jpg
└── index.html
 <script src="https://cdnjs.cloudflare.com/ajax/libs/pixi.js/5.1.3/pixi.min.js"></script> <div id="pikachu"></div> <script> let src = 'pikachu.jpg' let srcMap = 'pikachu.map.jpg' let width = 768 let height = 432 const $target = document.querySelector('#pikachu'); $target.style.width = `${width}px`; $target.style.height = `${height}px`; let app = new PIXI.Application({ width, height }); $target.appendChild(app.view); let img = new PIXI.Sprite.from(src); img.width = width; img.height = height; let depthMap = new PIXI.Sprite.from(srcMap); depthMap.width = width; depthMap.height = height; let displacementFilter = new PIXI.filters.DisplacementFilter(depthMap); app.stage.addChild(img); app.stage.addChild(depthMap); app.stage.filters = [displacementFilter]; $target.onmousemove = function(e) { displacementFilter.scale.x = (width / 2 - e.clientX) / 20; displacementFilter.scale.y = (height / 2 - e.clientY) / 20; };
</script>
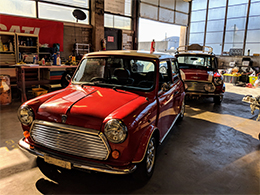
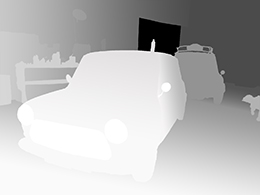
자동차
필요한 준비물은 역시 원본 이미지와 Depth map입니다.
이번에는 제가 배포한 모듈로 좀 더 간단하게 만들어 보겠습니다.
<div id="car"></div>
import { generate3dPhoto } from 'pixi-3d-photo' generate3dPhoto({ el: '#car', src: 'car.jpg', map: 'car.map.jpg', scale: 1.3
})
간단한 프로젝트는 Parcel bundler가 정말 편리합니다!자세한 사용법은 생략합니다.
$ parcel index.html
참고 자료(References)
https://redstapler.co/3d-photo-from-image-javascript-tutorial/
https://www.oculus.com/blog/introducing-new-features-for-3d-photos-on-facebook/?locale=en_US
http://pixijs.download/release/docs/index.html