Managing React Form State Using the React-Form Library
One of Shopify’s philosophies when it comes to adopting a new technology isn’t only to level up the proficiency of our developers so they can implement the technology at scale, but also with the intent of sharing their new found knowledge and understanding of the tech with the developer community.
In Part 1 (Building a Form with Polaris) of this series, we were introduced to Shopify’s Polaris Design System, an open source library used to develop the UI within our Admin and here in Part 2 we’ll delve further into Shopify’s open source Quilt repo that contains 72 npm packages, one of which is the react-form library. Each package was created to facilitate the adoption and standardization of React and each has its own README and thorough documentation to help get you started.
The react-form Library
If we take a look at the react-form library repo we can see that it’s used to:
Manage React forms tersely and safely-typed with no effort using React hooks. Build up your form logic by combining hooks yourself, or take advantage of the smart defaults provided by the powerful useForm hook.
The useForm and useField Hooks
The documentation categorizes the API into three main sections: Hooks, Validation, and Utilities. There are eight hooks in total and for this tutorial we’ll focus our attention on just the ones most frequently used: useForm and useField.
useForm is a custom hook for managing the state of an entire form and makes use of many of the other hooks in the API. Once instantiated, it returns an object with all of the fields you need to manage a form. When combined with useField, it allows you to easily build forms with smart defaults for common use cases. useField is a custom hook for handling the state and validations of an input field.
The Starter CodeSandbox
As this tutorial is meant to be a step-by-step guide providing all relevant code snippets along the way, we highly encourage you to fork this Starter CodeSandbox so you can code along throughout the tutorial.
If you hit any roadblocks along the way, or just prefer to jump right into the solution code, here’s the Solution CodeSandbox.
First Things First—Clean Up Old Code
The useForm hook creates and manages the state of the entire form which means we no longer need to import or write a single line of useState in our component, nor do we need any of the previous handler functions used to update the input values. We still need to manage the onSubmit event as the form needs instructions as to where to send the captured input but the handler itself is imported from the useForm hook.
With that in mind let’s remove all the following previous state and handler logic from our form.
React isn’t very happy at the moment and presents us with the following error regarding the handleTitleChange function not being defined.
ReferenceError handleTitleChange is not defined
This occurs because both TextField Components are still referencing their corresponding handler functions that no longer exist. For the time being, we’ll remove both onChange events along with the value prop for both Components.
Although we’re removing them at the moment, they’re still required as per our form logic and will be replaced by the fields object provided by useForm.
React still isn’t happy and presents us with the following error in regards to the Page Component assigning onAction to the handleSubmit function that’s been removed.
ReferenceError handleSubmit is not defined
It just so happens that the useForm hook provides a submit function that does the exact same thing, which we’ll destructure in the next section. For the time being we’ll assign submit to onAction and place it in quotes so that it doesn’t throw an error.
One last and final act of cleanup is to remove the import for useState, at the top of the file, as we’ll no longer manage state directly.
Our codebase now looks like the following:
Importing and Using the useForm and useField Hooks
Now that our Form has been cleaned up, let’s go ahead and import both the useForm and useField hooks from react-form. Note, for this tutorial the shopify/react-form library has already been installed as a dependency.
import { useForm, useField } from "@shopify/react-form”;
If we take a look at the first example of useForm in the documentation, we can see that useForm provides us quite a bit of functionality in a small package. This includes several properties and methods that can be instantiated, in addition to accepting a configuration object that’s used to define the form fields and an onSubmit function.
In order to keep ourselves focused on the basic functionality, we start with only capturing the inputs for our two fields, title and description, and then handle the submission of the form. We’ll also pass in the configuration object, assigning useField() to each field, and lastly, an onSubmit function.
Since we previously removed the value and onChange props from our TextField components the inputs no longer capture nor display text. They both worked in conjunction where onChange updated state, allowing value to display the captured input once the component re-rendered. The same functionality is still required but those props are now found in the fields object, which we can easily confirm by adding a console.log and viewing the output:
If we do a bit more investigation and expand the description key, we see all of its additional properties and methods, two of which are onChange and value.
With that in mind, let’s add the following to our TextField components:
It’s clear from the code we just added that we’re destructuring the fields object and assigning the key that corresponds to the input’s label field. We should also be able to type into the inputs and see the text updated. The field object also contains additional properties and methods such as reset and dirty that we’ll make use of later when we connect our submit function.
Submitting the Form
With our TextField components all set up, it’s time to enable the form to be submitted. As part of the previous clean up process, we updated the Page Components onAction prop and now it’s time to remove the quotes.
Now that we’ve enabled submission of the form, let’s confirm that the onSubmit function works and take a peek at the fields object by adding a console log.
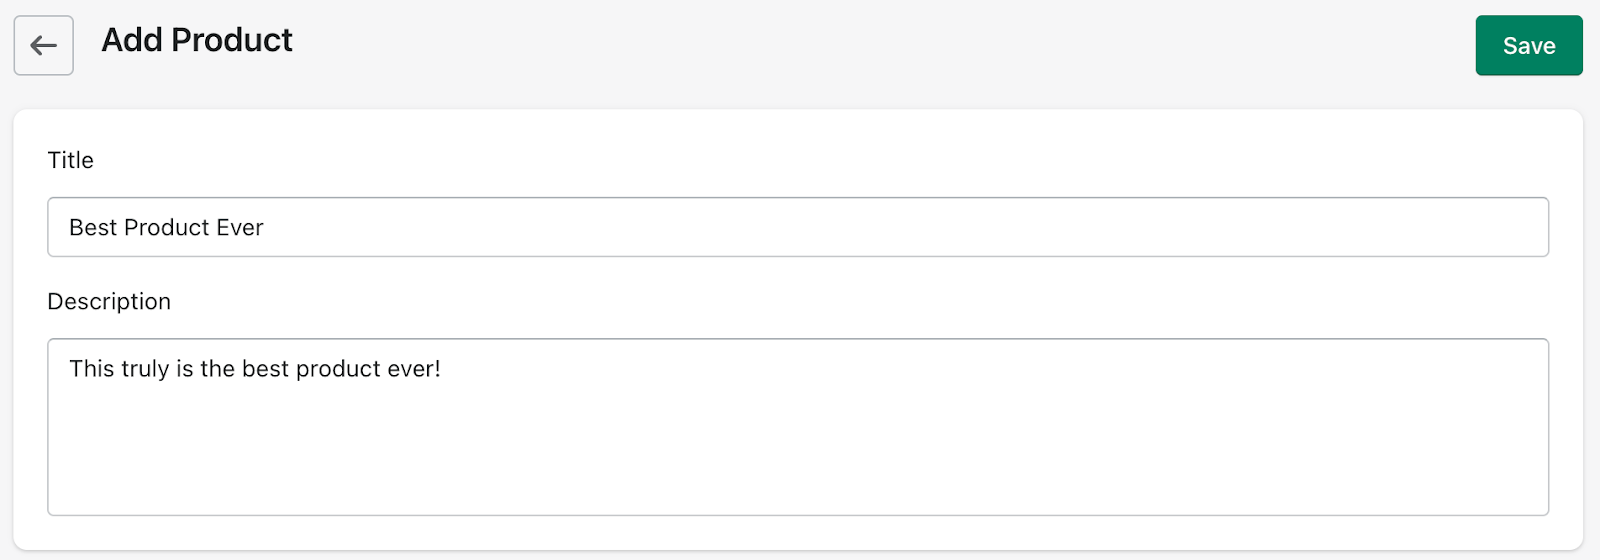
Let’s add a title and description to our new product and click Save.

Adding A Product
We see the following output:
More Than Just Submitting
When we reviewed the useForm documentation earlier we made note of all the additional functionality that it provides, two of which we will make use of now: reset and dirty.
Reset the Form After Submission
reset is a method and is used to clear the form, providing the user with a clean slate to add additional products once the previous one has been saved. reset should be called only after the fields have been passed to the backend and the data has been handled appropriately, but also before the return statement.
If you input some text and click Save, our form should clear the input fields as expected.
Conditionally Enable The Save Button
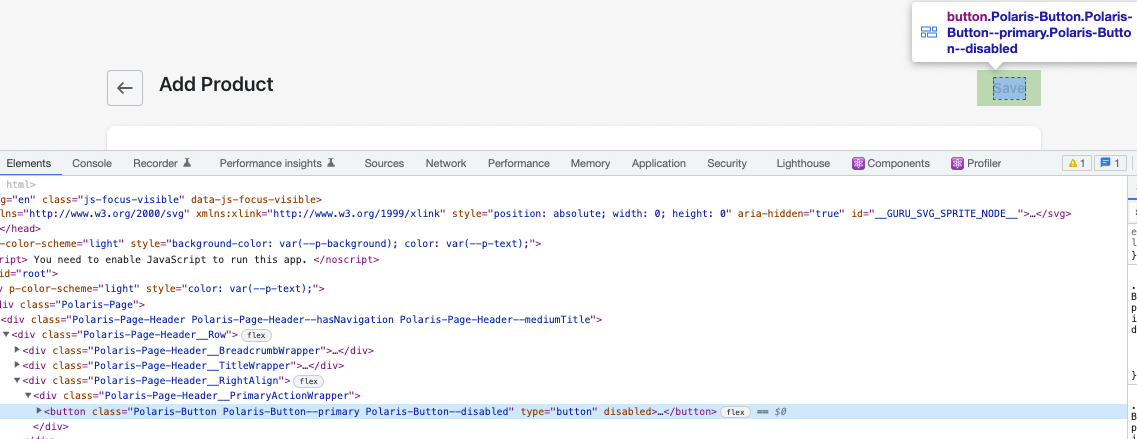
dirty is used to disable the Save button until the user has typed some text into either of the input fields. The Page component manages the Save button and has a disabled property that we assign the value of !dirty because its value is set to false when imported, so we need to change that to true.
You should now notice that the Save button is disabled until you type into either of the fields, at which point Save is enabled
We can also validate that it’s now disabled by examining the Save button in developer tools.

Save Button Disabled
Form Validation
What we might have noticed when adding dirty, is that if the user types into either field the Save button is immediately enabled. One last aspect of our form is that we’ll require the Title field to contain some input before being allowed to submit the product. To do this we’ll import the notEmpty hook from react-form.
Assigning it also requires that we now pass useField a configuration object that includes the following keys: value and validates. The value key keeps track of the current input value and validates provides us a means of validating input based on some criteria.
In our case, we’ll prevent the form from being submitted if the title field is empty and provide the user an error message indicating that it’s a required field.
Let’s give it a test run and confirm it’s working as expected. Try adding only a description and then click Save.
Field is required error message
As we can see our form implements all the previous functionality and then some, all of which was done via the useForm and useField hooks. There’s quite a bit more functionality that these specific hooks provide, so I encourage you to take a deeper dive and explore them further.
This tutorial was meant to introduce you to Shopify’s open source react-form library that’s available in Shopify’s public Quilt repo. The repo provides many more useful React hooks such as the following to name a few:
- react-graphql: for creating type-safe and asynchronous GraphQL components for React
- react-testing: for testing React components according to our conventions
- react-i18n: which includes i18n utilities for handling translations and formatting.
Joe Keohan is a Front End Developer at Shopify, located in Staten Island, NY and working on the Self Serve Hub team enhancing the buyer’s experience. He’s been instructing software engineering bootcamps for the past 6 years and enjoys teaching others about software development. When he’s not working through an algorithm, you’ll find him jogging, surfing and spending quality time with his family.
Wherever you are, your next journey starts here! If building systems from the ground up to solve real-world problems interests you, our Engineering blog has stories about other challenges we have encountered. Intrigued? Visit our Engineering career page to find out about our open positions and learn about Digital by Design.