How to generate realistic people in Stable Diffusion
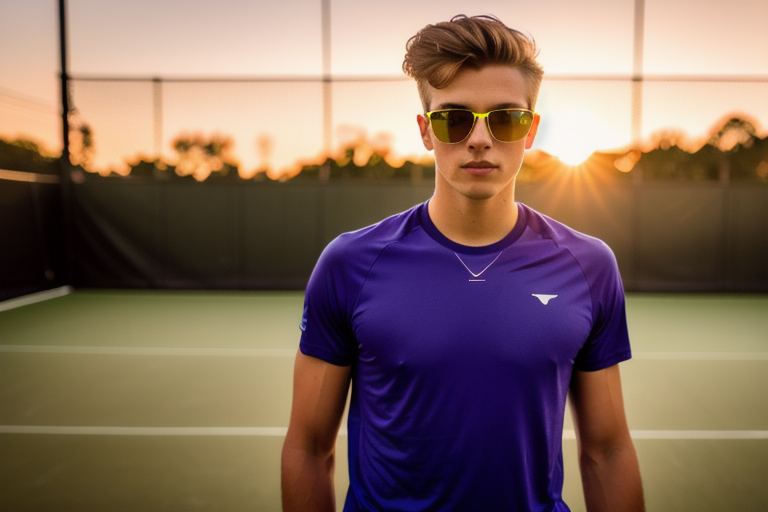
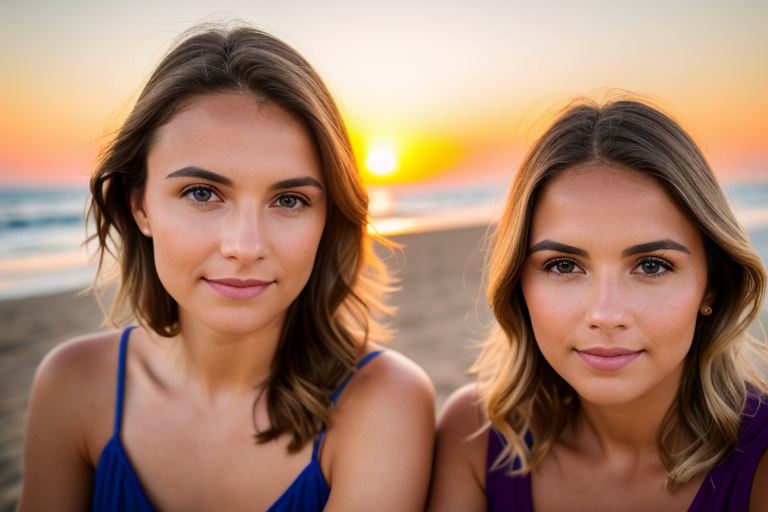
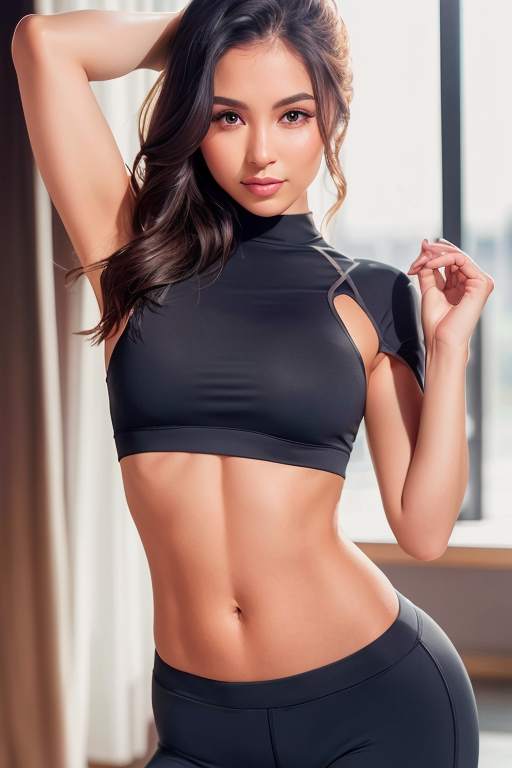
One of the most popular uses of Stable Diffusion is to generate realistic people. They can look as real as taken from a camera. In this post, you will learn the mechanics of generating photo-style portrait images. You will learn about prompts, models, and upscalers for generating realistic people.
Become a Stable Diffusion Pro step-by-step.
We will use AUTOMATIC1111 Stable Diffusion GUI to generate realistic people. You can use this GUI on Windows, Mac, or Google Colab.
In this section, you will learn how to build a high-quality prompt for realistic photo styles step-by-step.
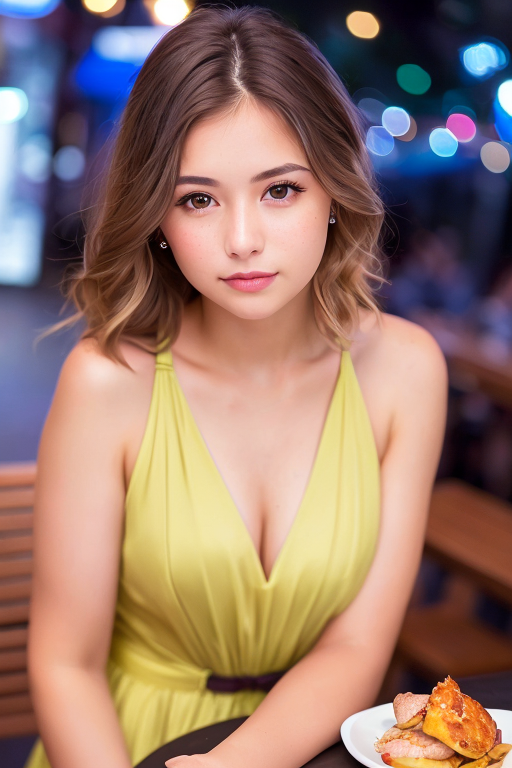
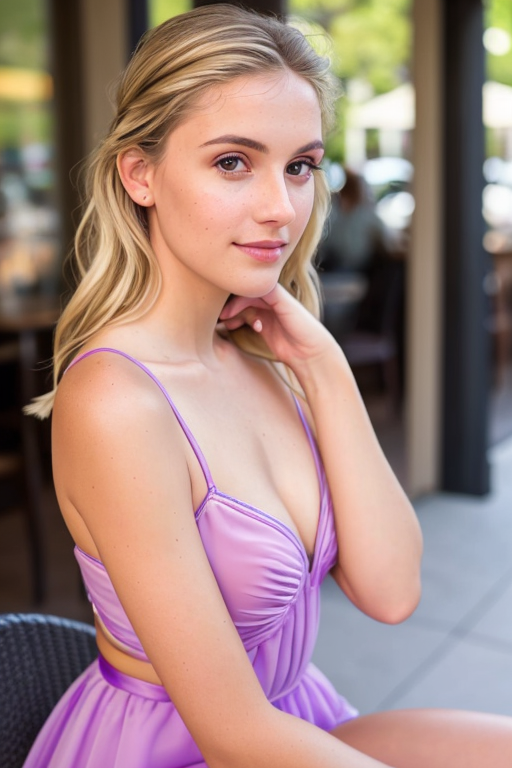
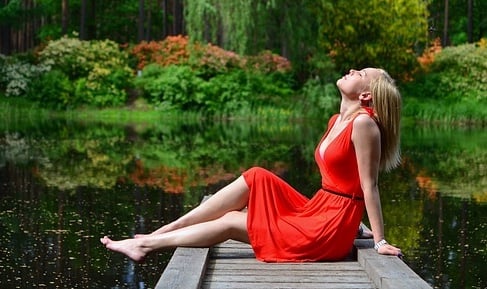
Let’s start with a simple prompt of a woman sitting outside of a restaurant. Let’s use the v1.5 base model.
Prompt:
Model: Stable Diffusion v1.5
Sampling method: DPM++ 2M Karras
Sampling steps: 20
CFG Scale: 7
Size: 512×768


Well, that didn’t go so well…
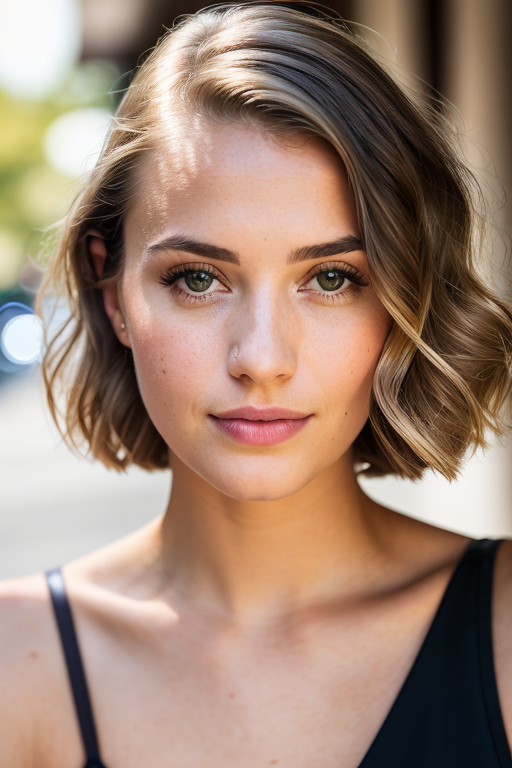
Let’s add a negative prompt. This negative prompt is quite minimalistic. It is intended to generate better anatomy and steer away from non-realistic styles.
Negative Prompt:


It’s doing something: The women look better. The Upper bodies look pretty good.
But the anatomy of the lower bodies is still problematic. There’s still a lot of room for improvement.
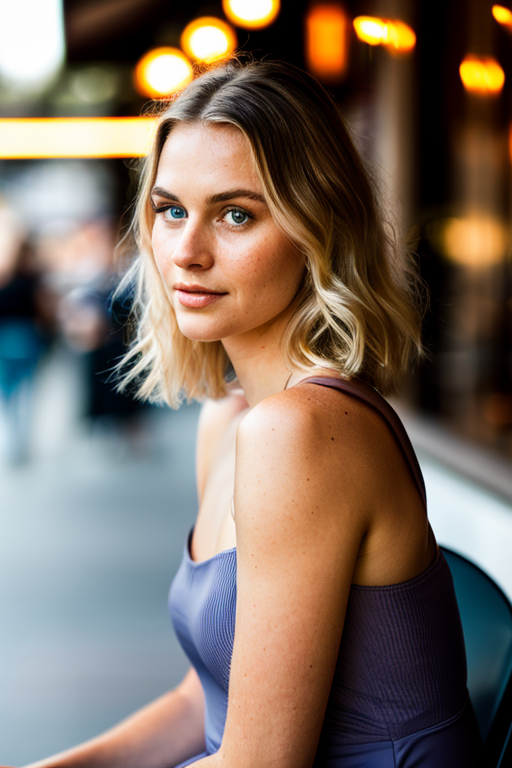
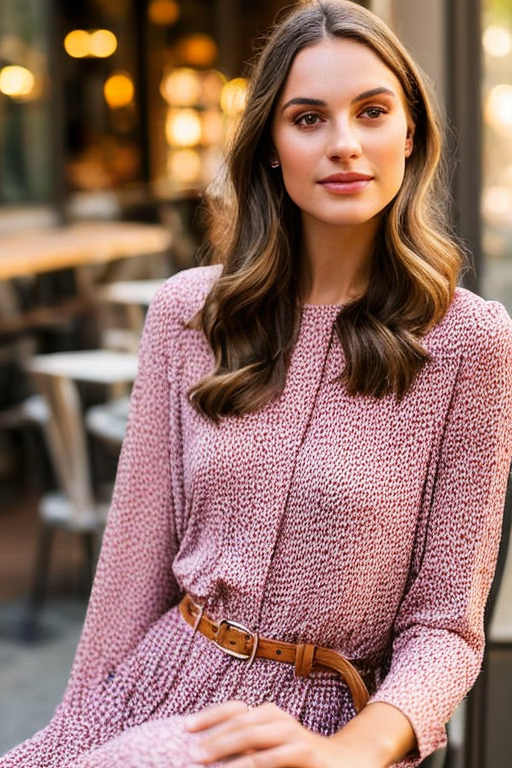
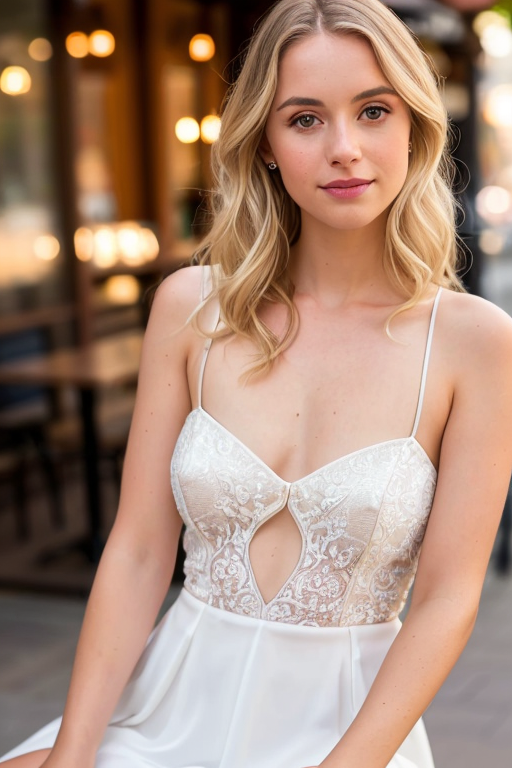
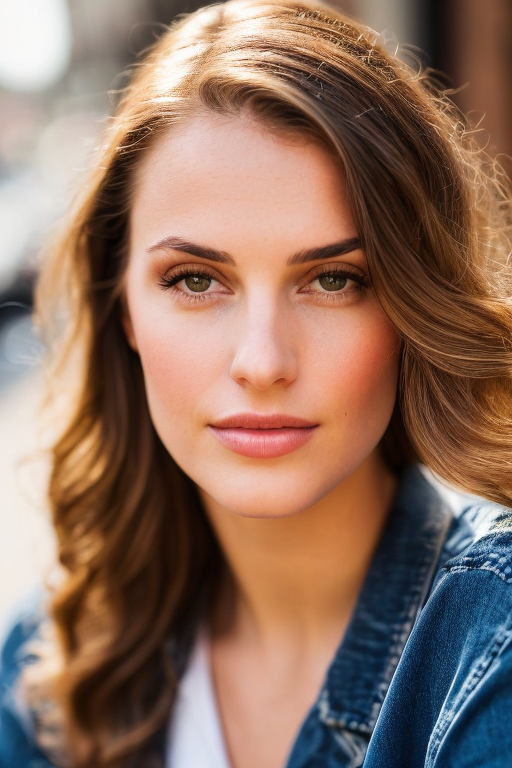
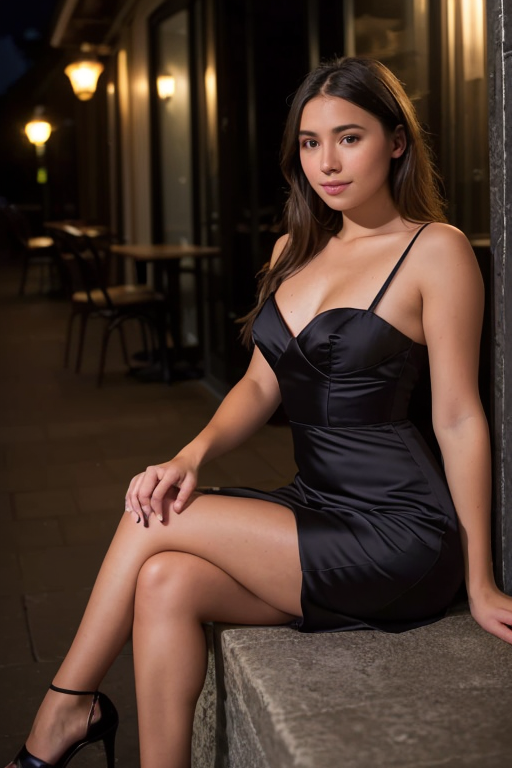
A large part of a photographer’s job is to set up good lighting. A good photo has interesting lights. The same applies to Stable Diffusion. Let’s add some lighting keywords and a keyword that controls the viewing angle.
- rim lighting
- studio lighting
- looking at the camera
Prompt:
Negative prompt:


The photos instantly look more interesting. You may notice the anatomy is not quite right. Don’t worry. There are many ways to fix it. I will tell you in the later part of the article.
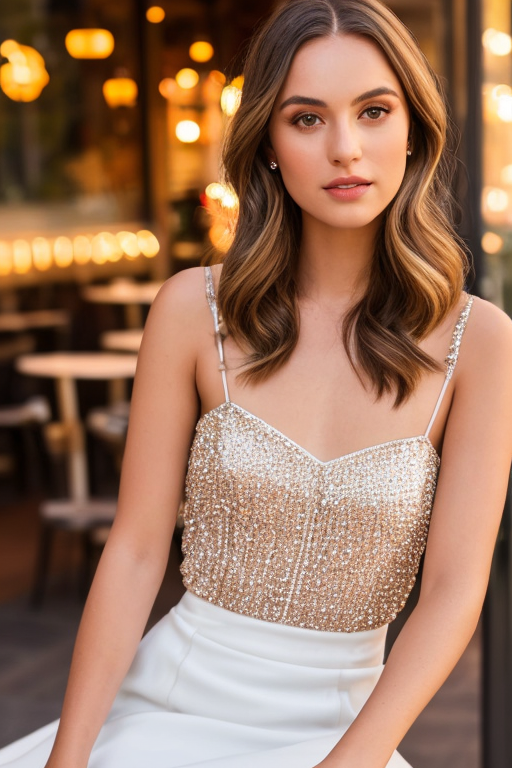
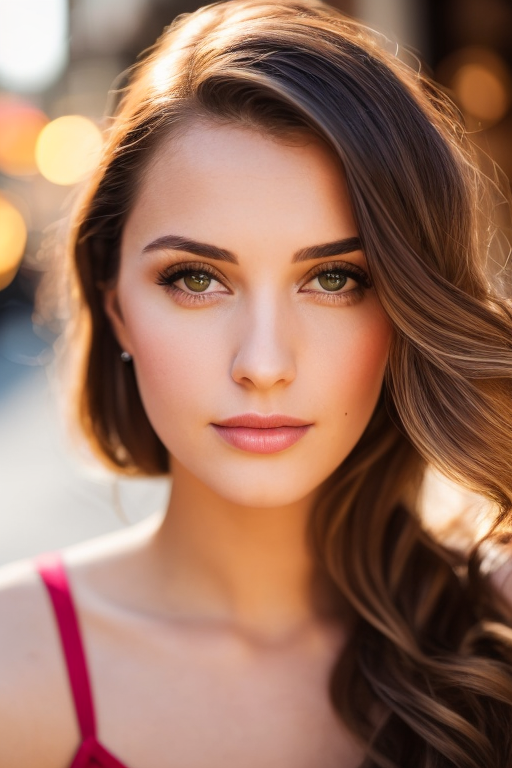
Keywords like dslr, ultra quality, 8K, UHD can improve the quality of images.
Prompt:
Negative prompt:


I cannot say they are definitely better, but it certainly doesn’t hurt to include them…
Finally, some keywords can be used as sweeteners to describe eyes and skin. These keywords intend to render a more realistic face.
- highly detailed glossy eyes
- high detailed skin
- skin pores
A side effect of using these keywords is drawing the subject closer to the camera.
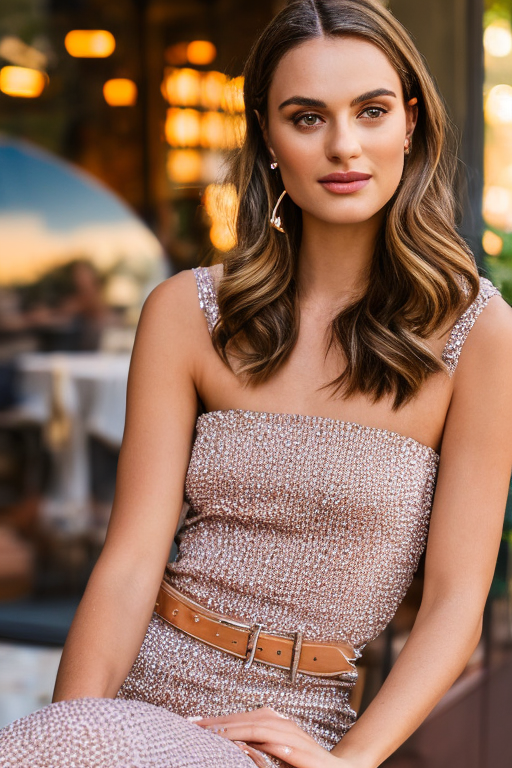
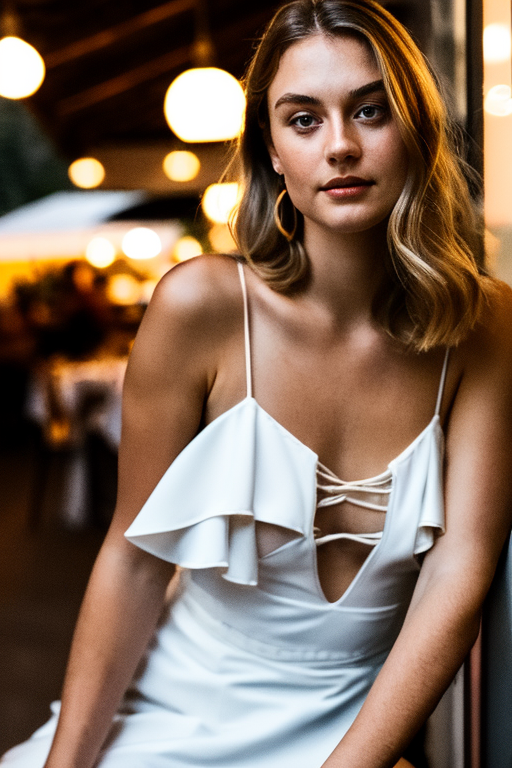
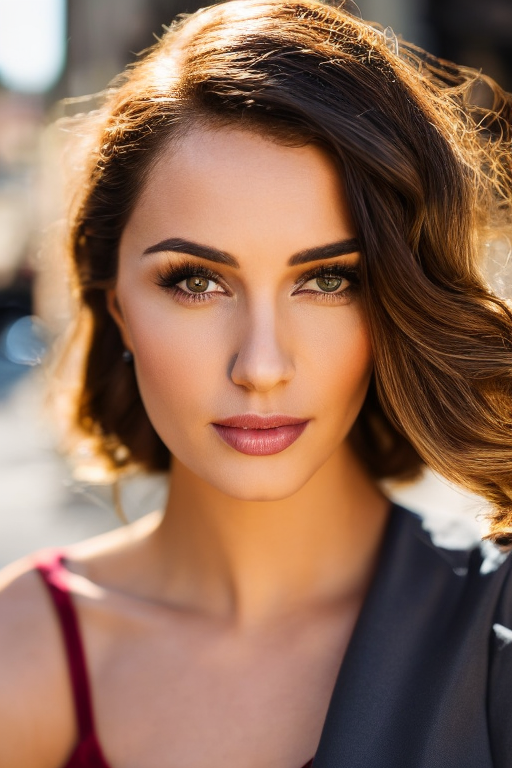
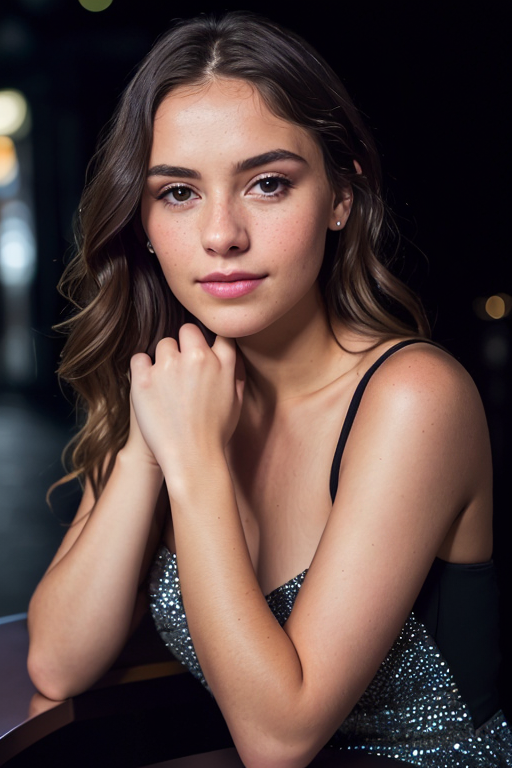
Putting them together, we have the following final prompt.
Prompt:
Negative prompt


Are you surprised that the base model can generate these high-quality realistic images? We haven’t even used special photo-realistic models yet. It will only get better.
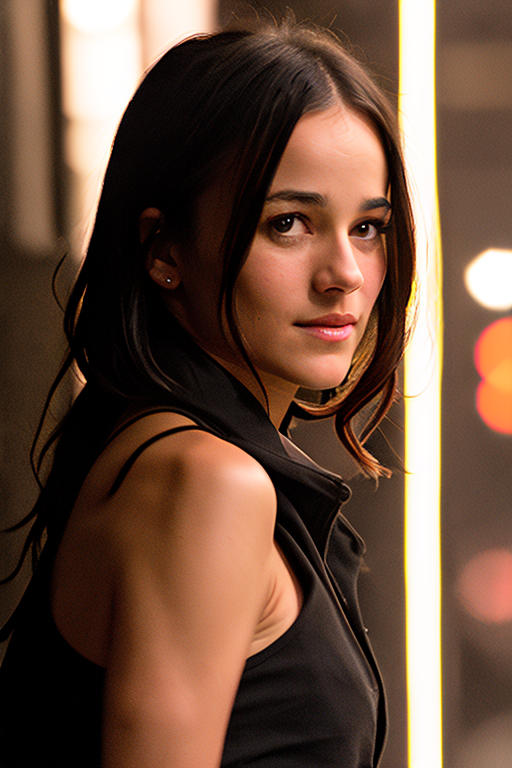
Do you want to generate the same look across multiple images? One trick is to take advantage of celebrities. Their looks are the most recognizable part of their bodies. So they are guaranteed to be consistent.
But we usually don’t want to use their face. They are just too recognizable. You want a new face with a certain look.
The trick is to blend two faces using prompt scheduling. The syntax in AUTOMATIC1111 is
factor is a number between 0 and 1. It indicates the fraction of the total number of steps when the keyword switches from person 1 to person 2. For example, [Ana de Armas:Emma Watson:0.5] with 20 steps means the prompt uses Ana de Armas in steps 1 – 10, and uses Emma Watson in steps 11-20.
You can simply throw that into the prompt like below.
Prompt:
Negative prompt

[Ana de Armas:Emma Watson:0.5]

[Amber Heard: Emma Watson :0.5]

[Anna Kendrick: Liza Soberano 0.5]
By carefully adjusting the factor, you can dial in the proportion of the two faces.
Did you notice the background and composition have changed drastically when using two names? It’s the association effect. Photos of actresses often associate with certain settings, such as award ceremonies.
The overall composition is set by the first keyword because the sampler denoises most in the first few steps.
Taking advantage of this idea, we can still use woman in the first few steps and only swap in a celebrity name later on. This keeps the composition while offering to blend a generic face with a celebrity.
The prompt is something like this:
The negative prompt can stay the same.

[woman: Ana de Armas: 0.4]

[woman: Amber Heard: 0.6]

[woman: emma watson: 0.6]
Using this technique, we can keep the composition while controlling the face to some extent.
Inpainting is a technique to keep both the composition and have total control of the face.
After generating an image in txt2img tab, click on Send to inpainting.

In the inpainting canvas, draw a mask covering the face.

Now modify the prompt to include blending of two faces. E.g.
Set denoising strength to 0.75 and batch size to 8. Hit Generate and cherry-pick one that works the best.

[Emma Watson: Ana de Armas: 0.4]

[Amber Heard: Emma Watson :0.5]

[Anna Kendrick: Liza Soberano 0.4]
You don’t need to generate realistic people with correct anatomy in one shot. It is fairly easy to re-generate part of the image.
Let’s go through an example. The image below looks good, except the arms are deformed.
To fix it, first click on Send to inpaint to send the image and the parameters to the inpainting section of the img2img tab.

In the inpainting canvas of the img2img tab, draw a mask over the problematic area.

Set Seed to -1 (random), denoising strength to 1, and batch size to 8.
You can experiment with the inpaint area setting – whole picture or only masked.
Hit Generate.
You will have some bad ones. But by sheer chance, you should see a decent one. If not, press Generate again.

You don’t need to get to the perfect inpainting in one go. You can refine an image iteratively with inpainting. When you see an image moving in the right direction, press Send to inpaint.
Now you are acting on the new image. Reduce the denoising strength gradually so that it preserves the content of the image. Below is an example of doing a second round of inpainting. The denoising strength was set to 0.6.

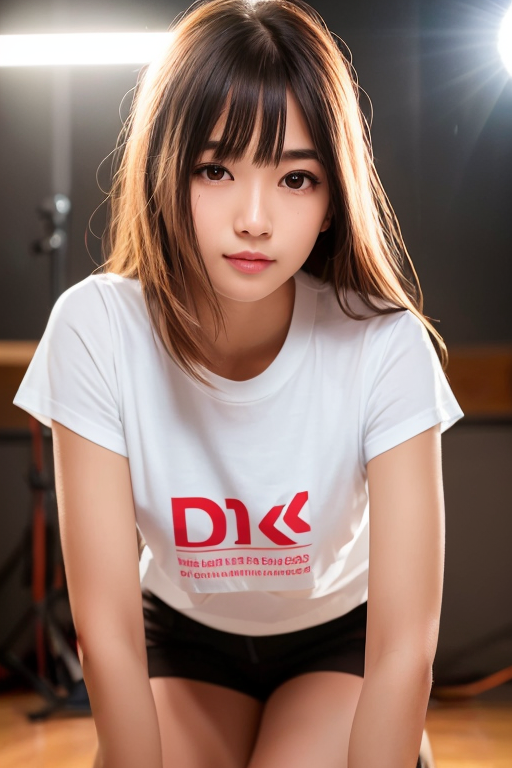
So far, we have only used the Stable Diffusion v1.5 base model to generate realistic people. Do you know there are models that are specifically trained to generate realistic images?
Things will only get better when you use them.
You will learn about some commonly used ones. We will study
- F222
- Hassan blend 1.4
- Realistic Vision v2
- Chillout Mix
- Dreamlike Photoreal
- URPM
I know I have missed some but bear with me.
I will use the same prompt
and the negative prompt
I will include the direct download link for each model. You can simply copy and paste the link to the “Model_from_URL” field in our AUTOMATIC1111 Colab notebook.
Caution
- Nearly all of them are prone to generating explicit images. Use clothing terms like dress in the prompt and nude in the negative prompt to suppress them.
- Some models have their own more restrictive licenses. Read them before using or incorporating them into a product.
Direct download link:


F222 generates realistic people with beautiful clothing. Sadly, the model is no longer in development.
Direct download link


Hassan Blend v1.4 is fine-tuned on a large number of explicit images.
Direct download link


Realistic Vision v2 is an all-rounded model for generating photograph-style images. In addition to realistic people, it is also good for animals and scenes.
The anatomy is excellent, in my experience.
Direct download link
Chillout Mix is the Asian counterpart of F222. It is trained to generate photo-style Asians.


Direct download link
Dreamlike Photoreal is an all-rounded photo-style model. The portrait images tend to be a little bit saturated.
Direct download link
URPM is a model fine-tuned with explicit images. The anatomy is usually excellent. Images are similar to Realistic Vision v2 but a bit more polished.
In order to let you directly compare the realistic models, I used ControlNet to fix the pose. (More on this later)
The same prompt, negative prompt, and seed are used.
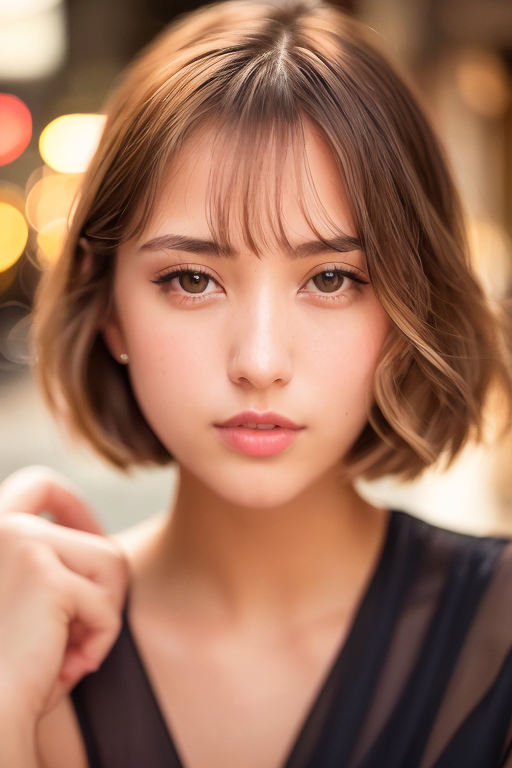
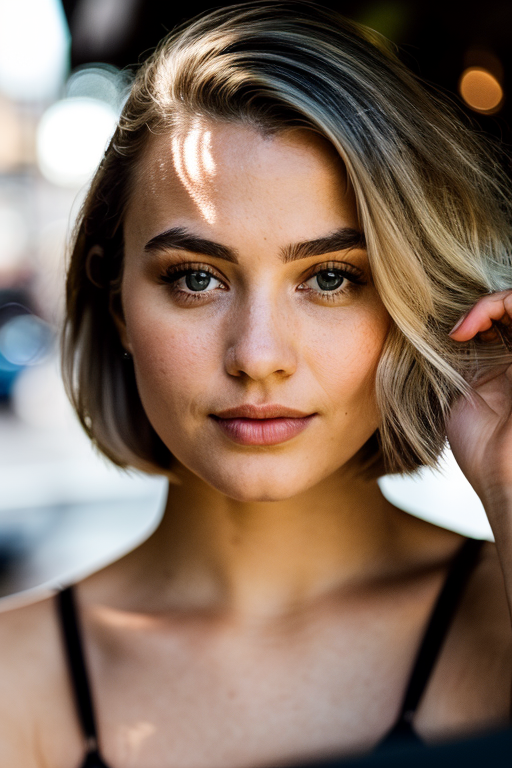
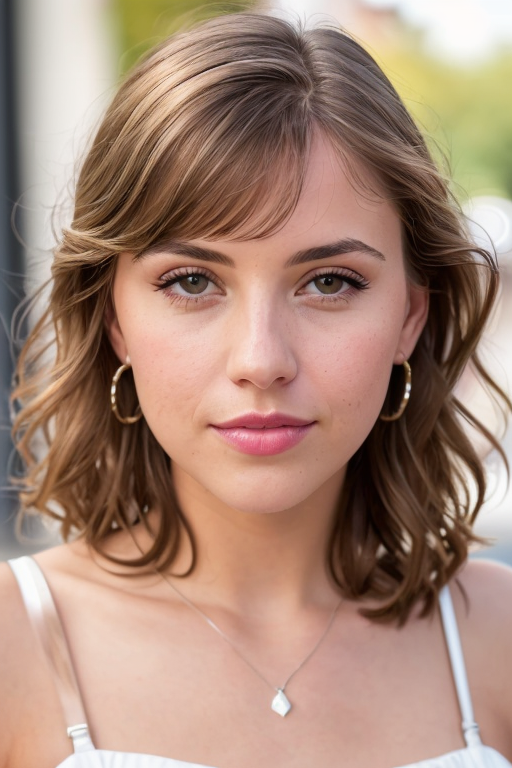
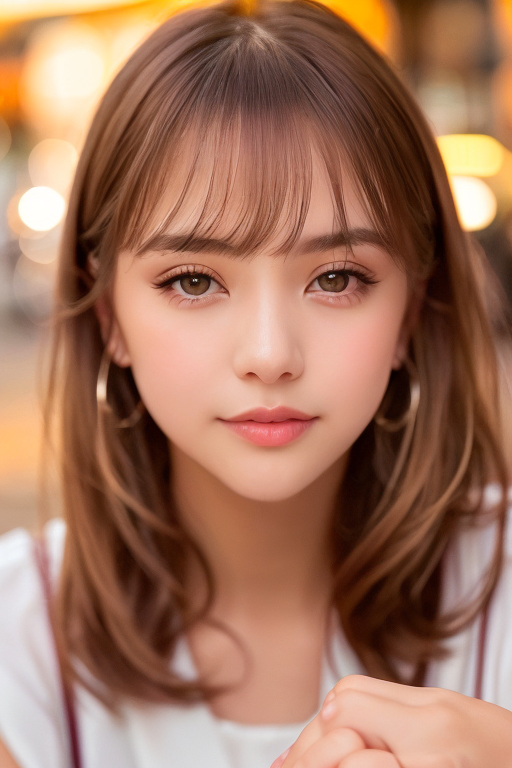
Stable Diffusion v1.5
F222
Hassan Blend 1.4
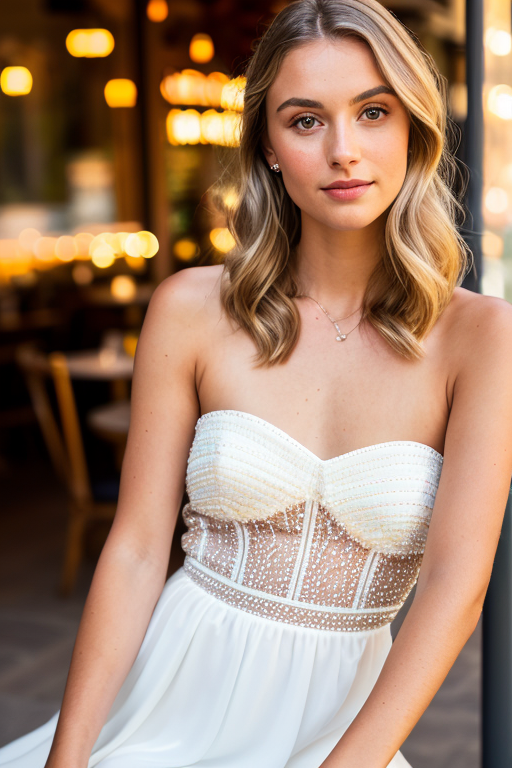
Realistic Vision v2
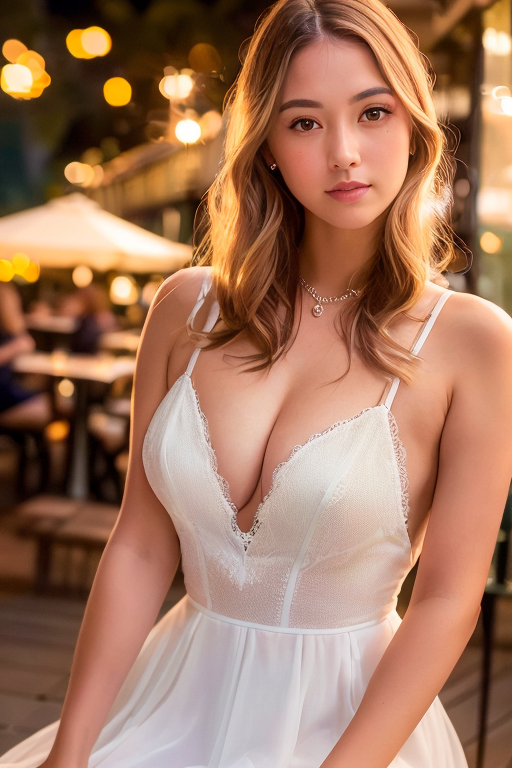
Chillout Mix
Dreamlike Photoreal
URPM
Close-up view:
Stable Diffusion v1.5
F222
Hassan Blend 1.4
Realistic Vision v2
Chillout Mix
Dreamlike Photoreal
URPM
Which realistic model is your favorite? Let me know in the comment!
You can further dial in the model by supplementing model modifiers such as LoRAs, hypernetworks, and textual inversions.
The best place to find them is civitai.
Korean idol looks can be achieved by using a Korean LoRA with Chillout Mix.
epi_noiseoffset is a LoRA that can induce darker images than normally possible in Stable Diffusion. Use dark keywords like “dark studio”, “night”, “dimly lit”, etc.
Prompt:
Negative prompt:
Images below are generated with the URPM model.
There are a large number of fan-made LoRA models paying tribute to their favorite artists.
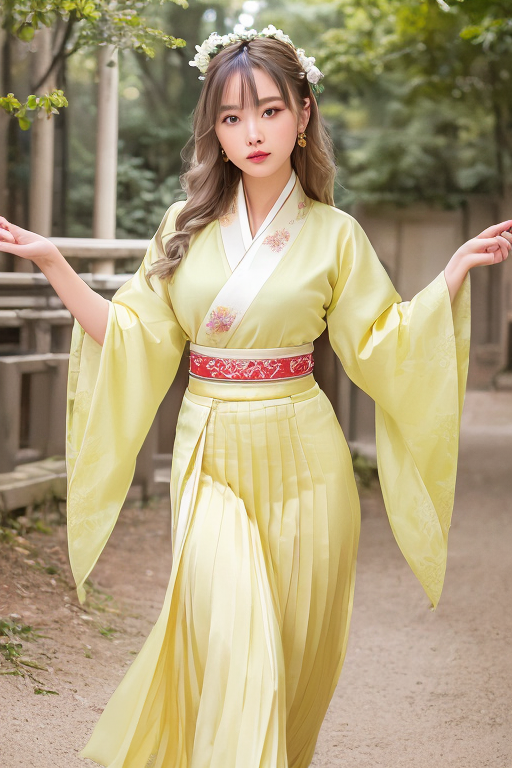
This Chinese Han outfit LoRA (applied on Chillout Mix) is excellent in generating beautiful traditional Han clothing.
ControlNet has emerged as the de facto standard for controlling human poses and portrait composition.
But how to get reference images? One easy way is to go to free photo sites like Unsplash. Search with keywords like man, woman, stand, sit, etc. You will find an image with the right composition.
Use openpose ControlNet. See the ControlNet article for details.
Without ControlNet, it is almost impossible to control the composition and poses of two or more people in a scene. Now, you simply find a reference image, and you are in business.
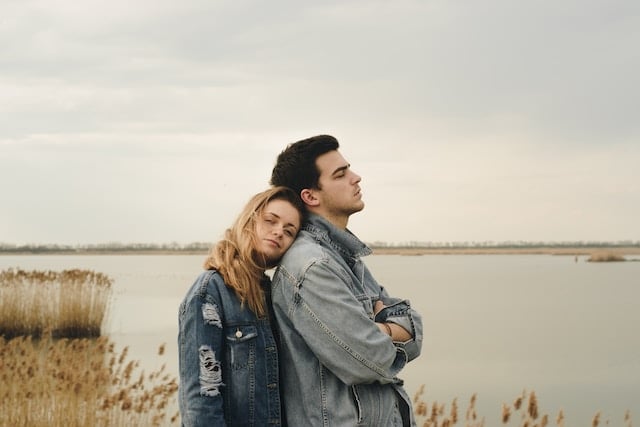
Reference image.
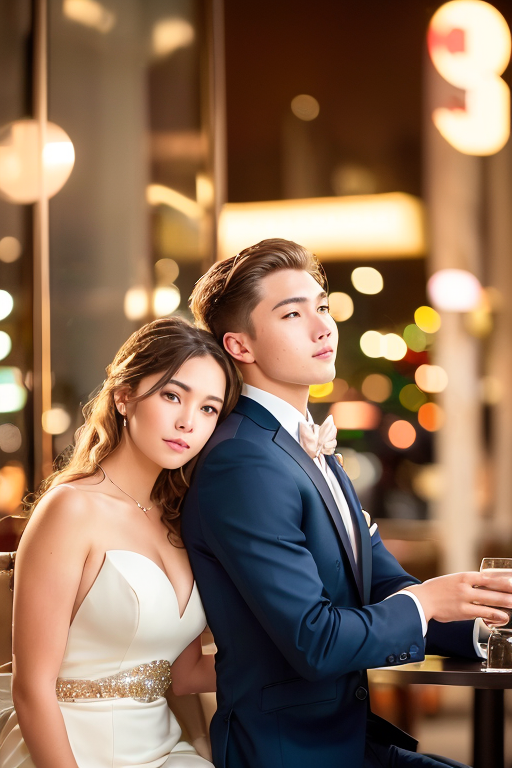
Chillout Mix
Realistic Vision v2
The native resolution of SD v1 model is 512×512 pixels. To prevent issues such as duplicate characters, you should set as least one side to 512 pixels.
As a result, the images are likely too small for later use.
You can use AI upscalers to enlarge an image without worrying about getting blurry. They have the ability to create content to fill in the details as you enlarge the image.
A few points on upscalers for realistic photos
- Most upscalers alter the image.
- Experiment with applying two upscalers. The first one is a traditional one like Lanczos. The second one is an AI upscaler like R-ESRGAN. You should apply the least amount of the AI upscaler possible.
- Same for face restoration. Applying it at full strength is going to introduce artifacts. Apply the least amount you can get away with.
- You can scale up to large than what you need. Then scale it back down. This way, you can afford the scaled-up image to be a bit blurry.
You can experiment with generating images with the final resolution when using ControlNet. It could work because ControlNet fixes the poses and prevents common issues like generating two duplicate heads or bodies.
Go ahead and try setting the image size to, for example, 1200×800. There’s a chance that you can get away with using upscalers!
To remove artifacts introduced by the upscalers, you can do an image-to-image with low denoising strength (e.g. 0.1 to 0.3), while keeping the prompt the same.
This trick lets the model generate details that are consistent with the style of the model while not changing the image too much.
The drawback is that the image will be altered slightly, depending on the denoising strength you use.
To improve details and upscale simultaneously, use ControlNet Tile upscale.
Below are some take-homes.
- Start with the boilerplate prompt and the negative prompt at the beginning of the Models section. You can customize the image by changing
- Ethnicity – African American, Hispanic, Russian, European…
- Hairstyle – long, short, bun, ponytail, braid…
- Outfits – dress, top, jeans, jackets. Go to the website of your favorite clothing store and get some keyword ideas.
- Activity – What he or she is doing
- Surroundings – Busy street, inside a house, on a beach…
- Choose a model
- F222 or Realistic Vision v2 for balanced, realistic people.
- Hassan Blend v1.4 or URPM for a more polished look.
- Chillout Mix for Asians.
- SD 1.5 if you want to show off your supreme prompting skill…
- Throw in a LoRA, textual inversion or hypernetwork to dial in your desired effect.
- Aim for good composition. Don’t be afraid to use multiple rounds of inpainting to fix defects or regenerate faces.
- Use ControlNet with a stock photo to achieve good pose and composition.
- Be gentle with AI upscalers.
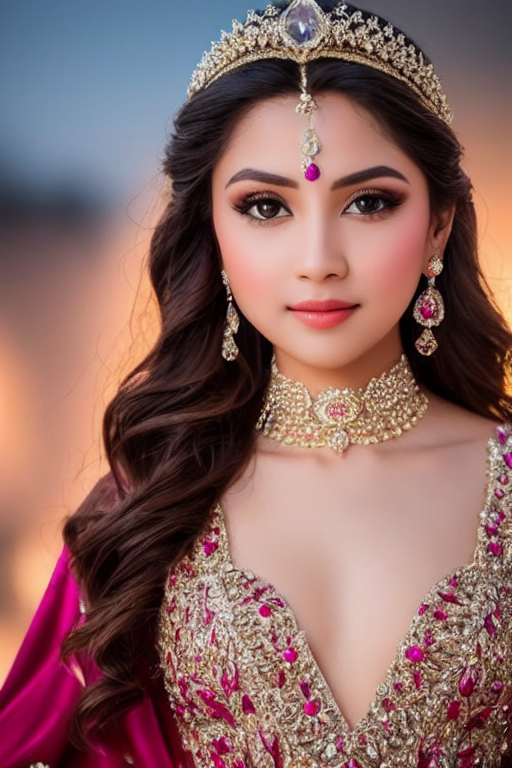
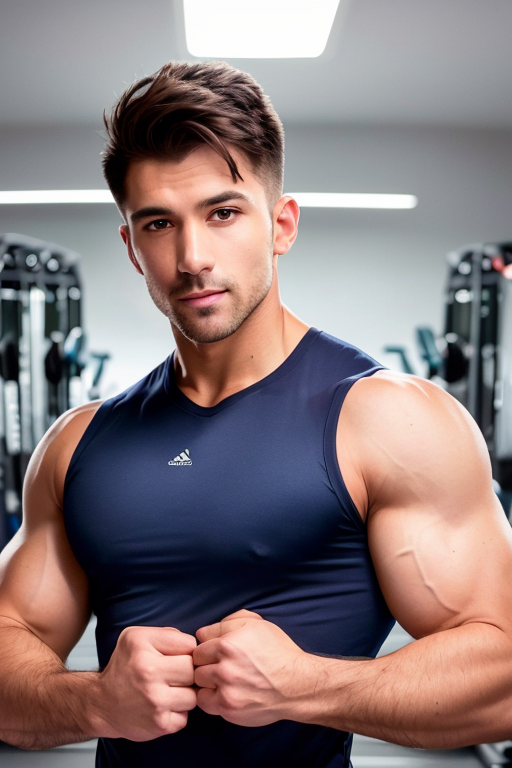
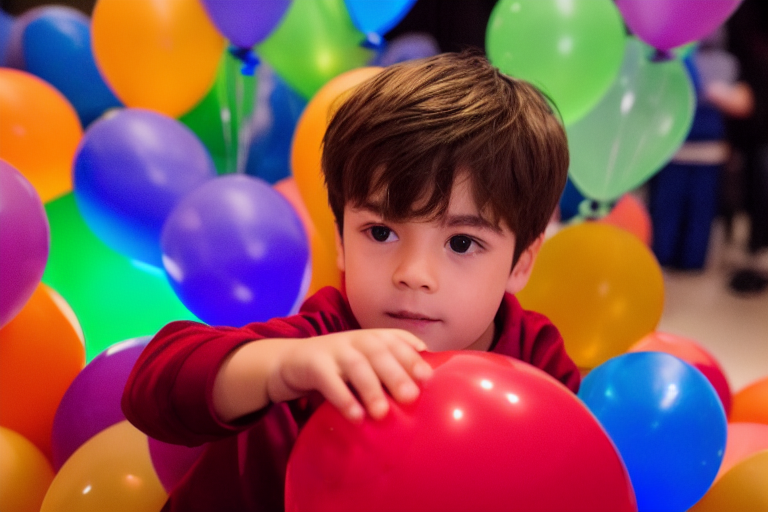
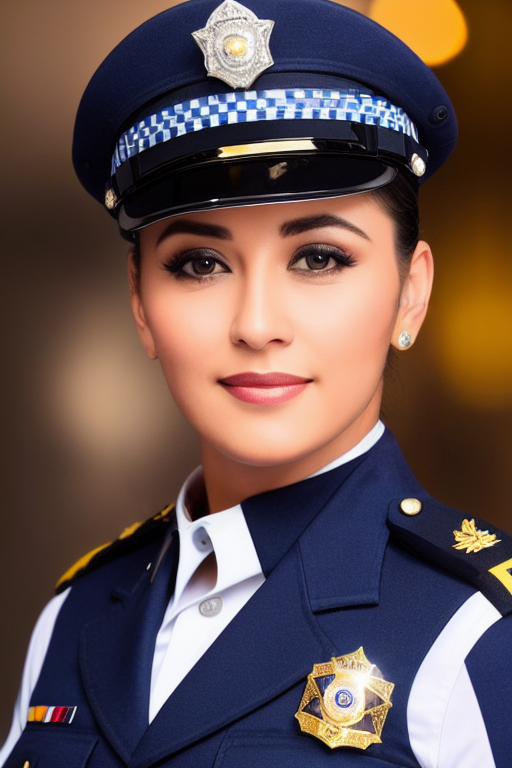
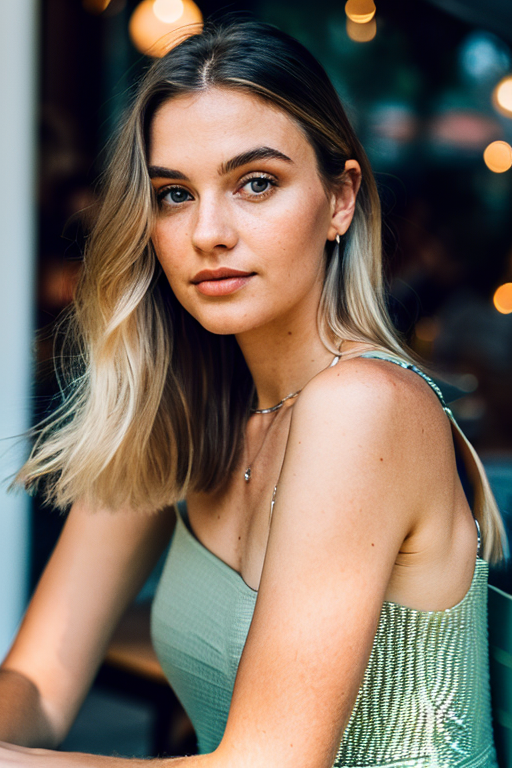
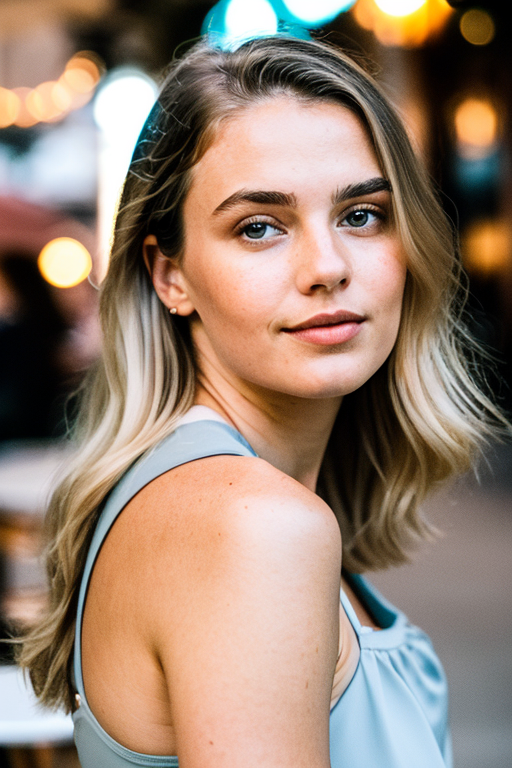
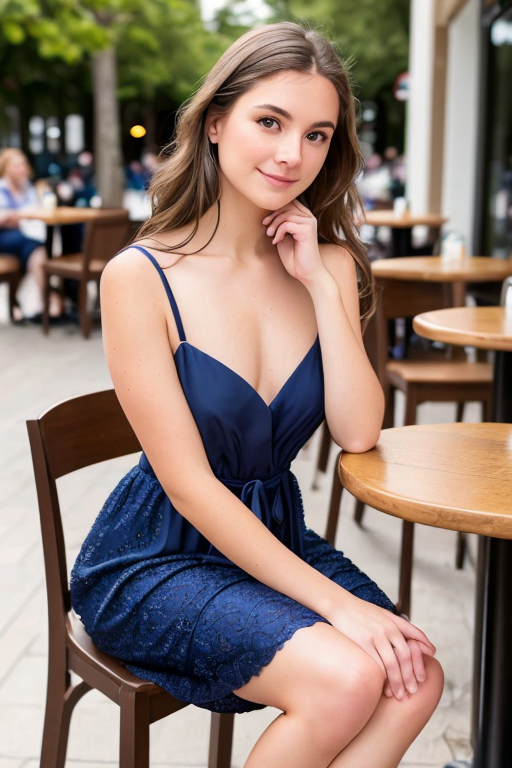
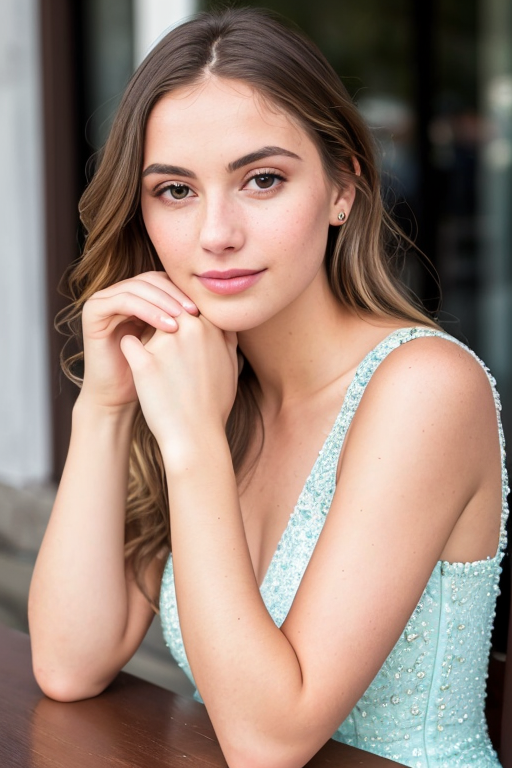
Finally, a gallery of realistic people…